Get 10% off! USE CODE: FALLSALE10
How to Apply Vinyl Stickers Without Bubbles (Step-by-Step Guide)
Learn the easiest way to apply vinyl stickers and car decals without bubbles. Step-by-step instructions, tools you’ll need, and pro tips to get a smooth, professional finish.
BMP Design Studio
9/1/20252 min read
Vinyl stickers and car decals are one of the easiest ways to personalize your car, laptop, or gear—but nothing’s worse than applying one and seeing ugly bubbles trapped underneath. The good news? With the right technique, you can achieve a smooth, professional look every time.
In this guide, I’ll walk you through the tools, prep steps, and exact method to apply vinyl stickers without bubbles, so your decal looks just as flawless as the day it was made.
What You’ll Need
Before you start, gather these simple tools:
Clean microfiber cloth
Rubbing alcohol or soapy water (for surface cleaning)
Masking tape (optional but helpful)
Squeegee or credit card wrapped in a soft cloth
Patience and steady hands ✋
Step 1: Clean the Surface Thoroughly
Dust, grease, or even tiny particles will create bumps or prevent the adhesive from sticking properly.
👉 Use rubbing alcohol or soapy water and a microfiber cloth to wipe down the area where you’ll place your decal.
Pro tip: Make sure the surface is completely dry before moving on.
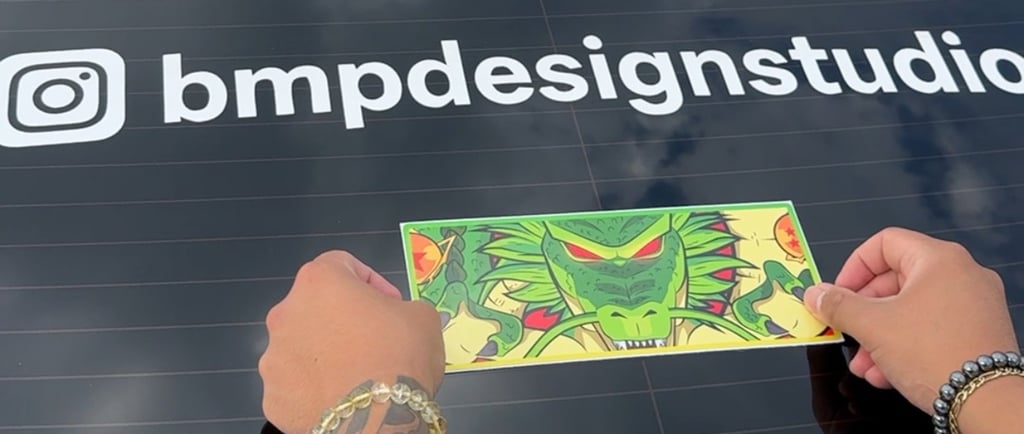
Step 2: Position Your Sticker First
Don’t peel the backing right away!
Place the sticker (with backing still on) where you want it.
Use masking tape to hold it in position and visualize placement.
This avoids crooked applications or last-minute adjustments that cause bubbles.If you don't have masking tape available, proceed to Step #3. Just peel a small section, stick, position, and peel away.
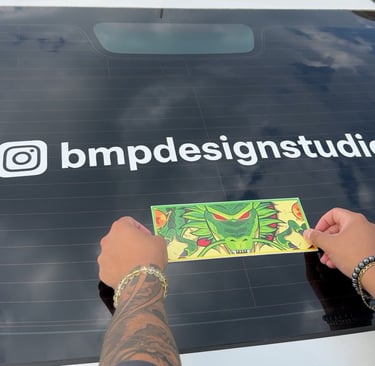
Step 3: Peel and Stick Slowly
Now comes the fun part.
Peel back one corner of the backing paper, exposing just a small section of adhesive.
Carefully align and press down while peeling more of the backing little by little.
👉 This “slow peel method” ensures bubbles don’t get trapped.
Step 4: Use the Squeegee Method
Grab your squeegee or wrapped credit card and press the sticker onto the surface from the center outward.
Push air out as you go.
Use firm but gentle pressure.
Pro tip: Apply in short strokes, not one big swipe.
Step 5: Pop Tiny Bubbles (If They Happen)
Even pros sometimes get tiny bubbles. Don’t panic!
Use a pin or needle to poke a tiny hole in the bubble.
Gently press the air out with your squeegee.
👉 Done correctly, the hole will be invisible.
Step 6: Let the Adhesive Cure
Give your sticker time to fully bond.
Avoid washing your car or exposing it to heavy rain for at least 24 hours.
This helps the adhesive set for maximum durability.
Common Mistakes to Avoid
❌ Don’t rush the process.
❌ Don’t apply to dirty or waxed surfaces.
❌ Don’t peel off the entire backing at once.
Final Thoughts
Applying vinyl stickers without bubbles is easy once you know the right steps. Whether it’s an anime car decal, custom logo, or laptop sticker, following this method will give you a clean, professional finish every time.
At BMP Design Studio, we use premium vinyl, scratch-resistant materials, and UV laminate to ensure your stickers not only apply smoothly but also last through rain, sun, and everyday use.
✨ Ready to try it yourself? Browse our Anime Car Decals Collection and give your ride the upgrade it deserves.